

Sunday 20 February 2011
If you like and/or save these templates please click here as a thank you :O)
Very much appreciated and won't cost you a penny

1 template with 2 options.
Dudes or Divas.
The dudes layer is closed so just open it up and close the Divas layer.
As always if you create a tut with it please send me the link.
Tutorial written by and © to Bits N Bobs 20th February 2011
You are not allowed to share/forward or translate this tutorial or place it on any blog or website.
This tutorial is written from my own ideas and any similarities to any other tutorial is purely coincidental.
Tutorial is for those with a working knowledge of paintshop pro.
Supplies needed.
Font of choice for your name.
I am using Just the way you are
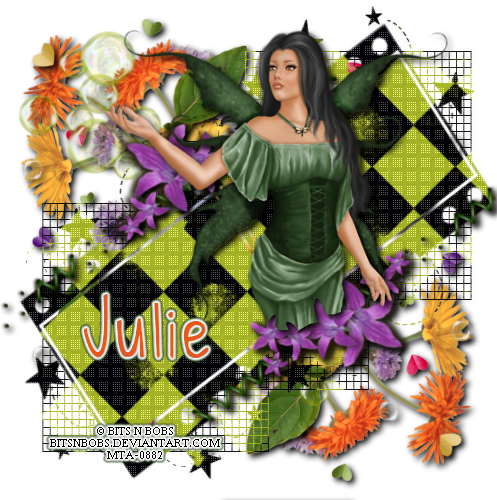
Tube of choice , I am using Natalie green fae by me.
Now at MTA
Artwork is not to be used without proper credit
Mask of choice, I am using mask 41 here
Scrap kit Splash of colour by me
Items I am using from this kit are...
paper 2, soc8, soc9, soc13, soc27,
Note
This tutorial was written in PSP 9
Copy any masks to your psp masks folder
Open all other supplies in paintshop except the font.
Double click on your font and minimize.
1. Open a new file 500 x 500 at 72 dpi
Re-size your paper to 500 pixels wide copy,
paste as a new layer.
2. Layers/ load-save mask/ load mask from disk,
select your mask using the settings as in the screenshot below.
Layers/ merge/ merge group.

Effects/ 3D effects/ penta.com/ dots and cross.
Settings:- amount 84, cross distance 14, cross width 3

3. Re-size soc9 to 450 pixels high.
Copy, paste as a new layer.
Poition towards the top left corner.
Duplicate this layer, image/ mirror, image/ flip.
Layers/ merge/ merge down.
Layers/ arrange/ send to bottom.
Add a drop shadow of choice.
I use V 3, H 3, O 100, B 9.0, C # 000000
4. Re-size soc13 to 450 pixels high.
Copy, paste as a new layer.
Image/ rotate/ free rotate/ 45 degrees left all layers untabbed.
Position towards the top left corner.
6. Re-size soc27 to 450 pixels wide.
Copy, paste as a new layer.
Layers arrange/ bring to the top.
Image/ rotate/ free rotate/ 37 degrees left, layers untabbed.
Position at the top of the rectangle.
Layers/ duplicate layer,
Image/ flip, image/ mirror.
Position at the bottom of the rectangle.
Layers/ merge/ merge down.
Add a drop shadow, same settings as before.
7. Copy your tube, paste as a new layer.
Image/ re-size to 450 pixels high, all layers untabbed.
Image/ mirror, position to your liking.
Lower the opacity of your tube so you can see through it.
Using your freehand selection tool ( mine is set at point to point )
Carefully cut away the bottom of your tube so she looks like she
is behind the bottom flower stitching. See screenshot below.
Once done hit delete on your keyboard and turn back up the opacity.
Add a drop shadow as before.

8. Re-size soc8 to 350 pixels wide.
Copy, paste as a new layer,
image/ mirror, position towards the top left corner.
Layers/ arrange/ send to bottom, layers/ Duplicate.
Image/ mirror, image/ flip, layers/ merge/ merge down.
Add drop shadow as before.
9. Layers/ merge/ merge visible.
Add your copyright info, name and save.
Subscribe to:
Posts
(Atom)
Stores


BNB Blinkie


